Ever stood in your garage, router in hand, staring at a piece of wood like it’s judging you—wondering “woodworking tool router how do you even start without splintering this into kindling?” Yeah. We’ve all been there. My first attempt ended with a gouge so deep it looked like a raccoon had tried to dig its way out of a coffee table.
If you’re new—or just rusty—to the world of routers, this guide cuts through the noise (and sawdust) to give you battle-tested steps, pro tips, and hard-won lessons about using this incredibly powerful—but unforgiving—tool. You’ll learn how to choose the right router, master essential techniques, avoid catastrophic mistakes, and finally understand what “climb cutting” actually means beyond sounding like a rock-climbing mishap.
Table of Contents
- Key Takeaways
- Why Do Woodworking Routers Intimidate So Many DIYers?
- Step-by-Step: How to Use a Woodworking Router Like a Pro
- 5 Non-Negotiable Router Best Practices
- Case Study: From Wobbly Edge to Perfect Trim
- Router FAQs: Answered Honestly
Key Takeaways
- Routers spin bits at 8,000–35,000 RPM—speed matters more than power for clean cuts.
- Always feed wood against the bit’s rotation (conventional cutting) unless doing a climb cut for tear-out control.
- Use sacrificial backer boards to prevent blowout on exit edges.
- Start shallow: Make multiple passes at increasing depths (never plunge full depth in one go).
- Collet tightness is critical—loose bits = chatter, slop, or dangerous ejection.
Why Do Woodworking Routers Intimidate So Many DIYers?
Let’s be real: A router sounds like a dentist’s drill crossed with a jet engine—whirrrrr-buzzzzz-SCREECH. And if you’ve ever seen a YouTube fail where someone sends a router bit flying across the shop like a tiny metal missile… yeah, no wonder beginners hesitate.
The truth? Routers are among the most versatile tools in woodworking—they can edge-profile doors, cut perfect grooves for shelves, create seamless joints, and even carve custom inlays. But their power demands respect. According to the U.S. Consumer Product Safety Commission, over 6,000 router-related injuries were reported in 2022 alone—mostly from kickback or improper handling.
The core issue isn’t the tool—it’s technique. Most beginners don’t know how to set depth correctly, misjudge feed direction, or use dull bits that burn rather than cut. Combine that with the router’s raw speed (often exceeding 20,000 RPM), and it’s easy to turn a $200 oak board into firewood in 3 seconds flat.
Step-by-Step: How to Use a Woodworking Router Like a Pro
How Do You Set Up Your Router Safely?
Optimist You: “Just plug it in and go!”
Grumpy You: “Ugh, fine—but only if you wear safety glasses AND unplug it while changing bits.”
- Unplug the router. Always. No exceptions.
- Insert the bit fully into the collet, then pull it back 1/16″ before tightening. This ensures maximum grip surface.
- Tighten the collet with two wrenches—one on the shaft lock, one on the collet nut. Torque spec: 35–45 in-lbs (check your manual).
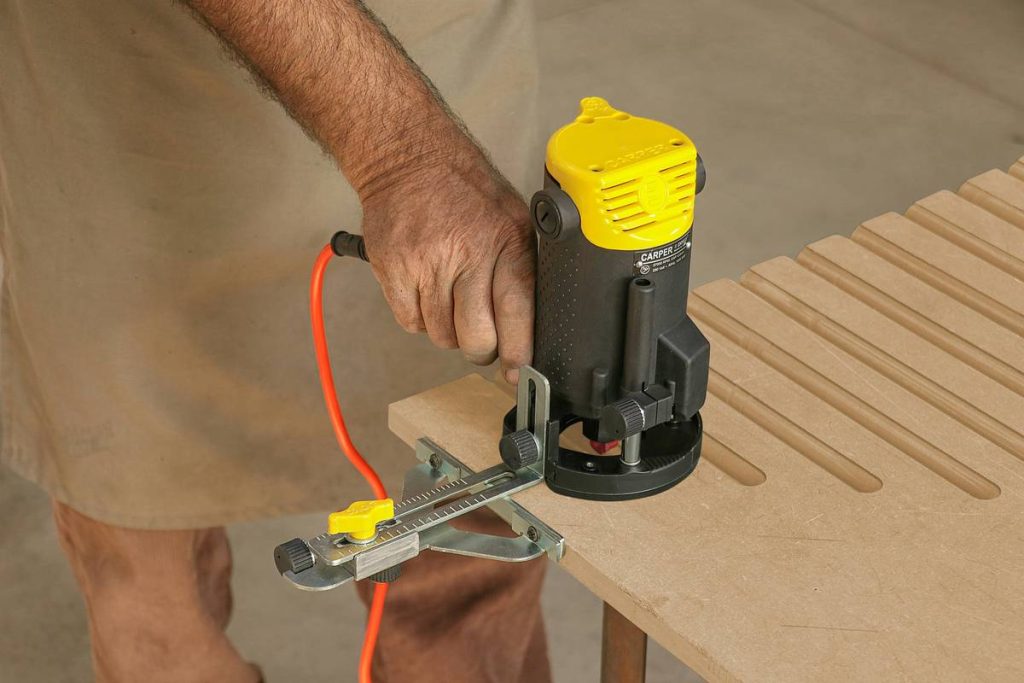
- Set depth with a ruler or gauge. Never eyeball it. For edge work, align the bit’s bearing with your desired profile depth.
How Do You Determine Feed Direction?
This is where 90% of beginners mess up. Router bits spin clockwise (when viewed from above). That means:
- On outside edges: Move the router left to right (against rotation = conventional cut).
- Inside cutouts (like mortises): Move right to left.
- Climb cutting? Only for final passes on tricky grain—go with rotation but use feather-light pressure to avoid grabbing.
How Do You Avoid Tear-Out on Exit Edges?
Sacrificial backer board. Tape it to your workpiece. Route through both. Remove. Clean edge guaranteed. I swear by this trick after ruining three cherry panels in one afternoon—learned the hard way.
5 Non-Negotiable Router Best Practices
- Sharp bits only. Dull bits burn wood and cause vibration. Replace carbide-tipped bits after ~10 hours of use in hardwoods (per Freud Tools’ engineering data).
- Multiple shallow passes. Never remove more than 1/8″ depth per pass in hardwoods. Softwoods? Max 1/4″.
- Use a router table for small pieces. Hand-holding a 2″-wide strip? That’s a finger-loss waiting to happen. Mount it.
- Control speed based on bit diameter. Small bits (e.g., 1/4″): 20,000+ RPM. Large bits (1″+): 12,000–16,000 RPM. Check your router’s speed chart.
- Dust extraction isn’t optional. Connect a shop vac. Inhaling fine particulates long-term increases respiratory risks (NIOSH warns against chronic exposure).
| Bit Diameter | Max Safe RPM |
|---|---|
| 1/4″ | 24,000+ |
| 1/2″ | 18,000 |
| 3/4″ | 16,000 |
| 1″+ | 12,000–14,000 |
Case Study: From Wobbly Edge to Perfect Trim
Last year, my neighbor asked me to fix his DIY bookshelf. He’d tried routing a roundover edge with a borrowed router—result? Jagged, burned grooves and a warped front panel.
We rebuilt one side using proper technique:
- Used a brand-new 1/2″ roundover bit (sharpened just that morning)
- Set depth using a digital gauge—0.125″ exact
- Clamped sacrificial MDF backer to both ends
- Made three passes: 0.05″, 0.10″, 0.125″
- Fed left-to-right at consistent pace (~20 inches/minute)
The result? Glass-smooth edges that matched store-bought furniture. He said, “I didn’t know routers could do that.” Spoiler: They can—if you respect the process.
Router FAQs: Answered Honestly
Woodworking tool router how do you stop burning the wood?
Burning = slow feed rate + dull bit. Speed up slightly and/or replace the bit. Hard maple and cherry are especially prone—don’t linger!
Can I use a trim router for big jobs?
Short answer: No. Trim routers (like the DeWalt DWP611) max out at 1 HP—fine for edge banding, not for panel raising. Use a fixed-base or plunge router (2+ HP) for heavy cuts.
Is it safe to freehand large panels?
Only if you have skill and stability. For sheets over 24″x24″, use straight-edge guides or a router table. Freehand on big surfaces often leads to uneven depth and wobble.
What’s the #1 beginner mistake?
Going too deep in one pass. Seriously. Your router isn’t a jackhammer—it’s a precision instrument. Patience wins.
Conclusion
So—woodworking tool router how do you actually tame this beast? By respecting physics, mastering feed direction, sharpening your bits, and never skipping safety. Routers aren’t magic, but they’re close. With the right approach, you’ll craft joints so tight they’ll make your cabinetmaker friends jealous and edges so smooth they feel like silk.
Now go plug in that router (after checking your collet!) and make something beautiful. And if you hear a screech? That’s just your wood complaining it’s not Instagram-ready yet.
Like a Tamagotchi, your router needs daily care—and occasional snacks of fresh carbide bits.
Spinning steel hums,
Guided hands shape silent wood—
Sawdust dreams take flight.