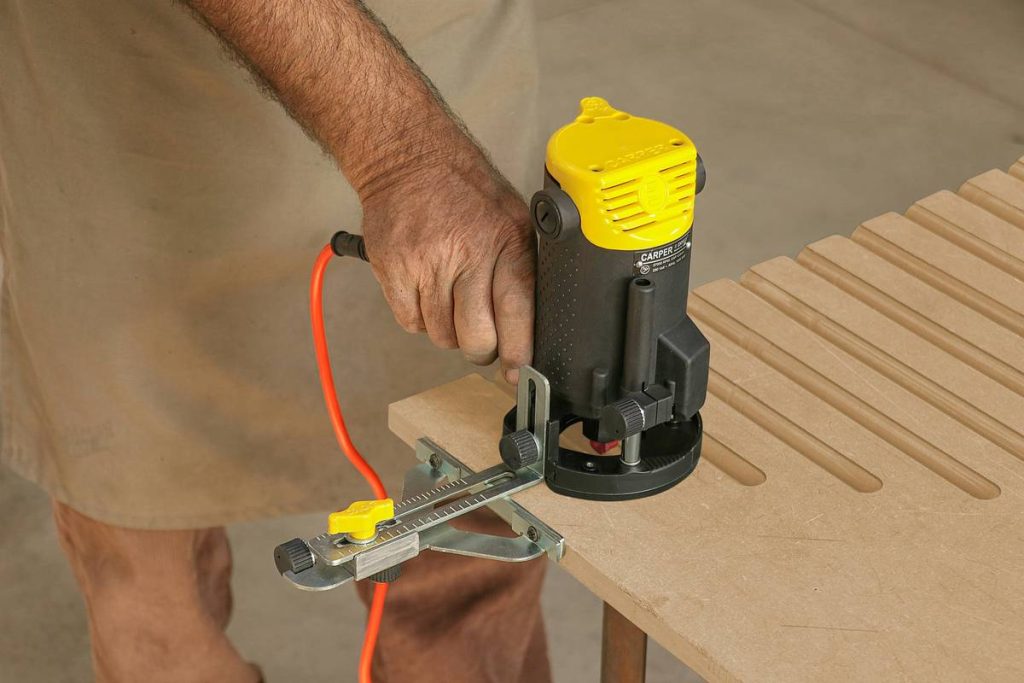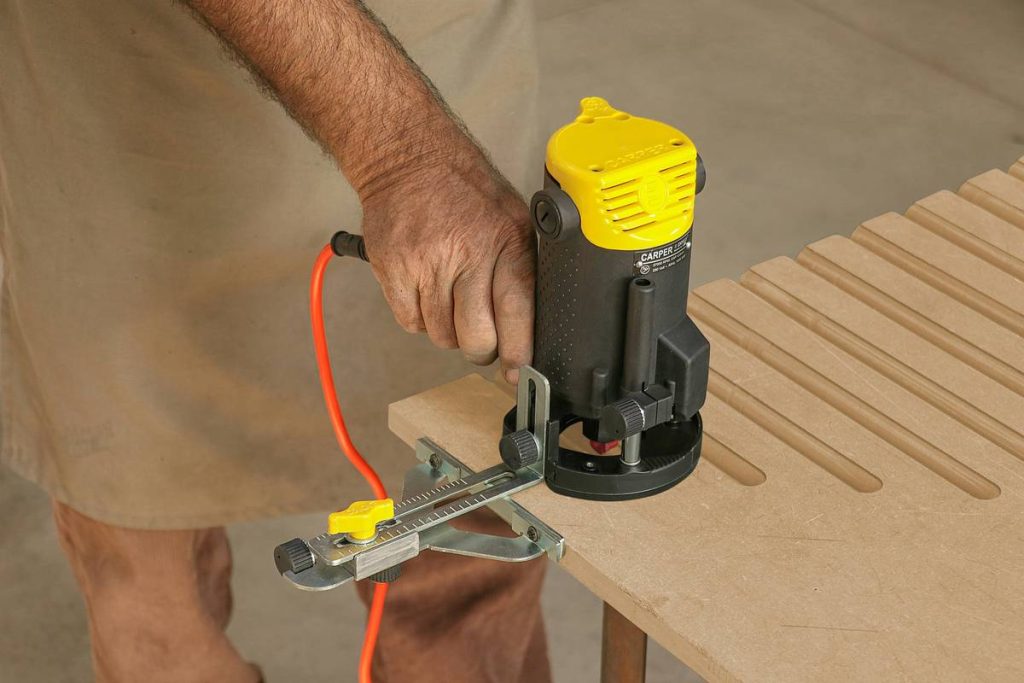
You bought a router tool. You watched a few videos. But your cuts are still splintered, your edges uneven, and your confidence shot. Sound familiar? Most DIYers treat routers like magic wands—flip the switch, push it forward, and expect perfection. Reality check: using a router tool demands respect for physics, grain direction, and setup. The good news? With the right method, you’ll outwork 90% of weekend warriors—and finish projects faster.
Why Your Router Keeps Failing (Even When You Follow Instructions)
Router manuals tell you to “feed the tool against rotation.” Great—if you’re working with perfect plywood in a climate-controlled shop. Real-world materials warp, blades dull mid-cut, and base plates flex under pressure. And here’s a truth no brand admits: factory default depth settings are often off by 1/32″. That tiny error compounds into chatter, tear-out, or even kickback.
Most beginners reverse their feed direction on inside edges—thinking it’s safer. It’s not. It increases deflection and ruins surface quality. You’re fighting the tool instead of guiding it.
Using a Router Tool: A No-BS Step-by-Step Workflow
Forget “tips.” This is battle-tested protocol from cabinetry shops that ship flawless furniture daily.
Select the Right Bit for Material Type
Straight bits work fine for softwoods—but try that on oak with a $15 bit from the big-box store, and you’ll burn the edge before the first pass ends. Invest in carbide-tipped bits with shear angles matched to your substrate. For MDF? High-shear spiral upcut. For solid hardwoods? Compression bits prevent top and bottom blowout.
Set Depth with a Feeler Gauge—Not Guesswork
Eyeballing depth leads to inconsistent profiles. Use a machinist’s feeler gauge between the bit tip and base plate. Even better: dial in depth using a digital caliper while the router’s unplugged. Precision isn’t optional—it’s the difference between a crisp groove and a sloppy trench.
Master Feed Direction and Speed Control
Always move the router against the bit’s rotation—clockwise on outside edges, counter-clockwise on inside ones. Keep your hands at 9 and 3 o’clock. Let the tool dictate speed; don’t force it. If you hear high-pitched whining or see smoke, you’re feeding too fast—or your bit’s toast.

| Method | Average Cut Quality | Setup Time | Risk of Tear-Out |
|---|---|---|---|
| Freehand Routing | Poor to Fair | Under 1 min | High |
| Edge Guide Attachment | Good | 3–5 min | Medium |
| Router Table + Fence | Excellent | 8–12 min | Low |
| Template + Flush-Trim Bit | Consistently Excellent | 15+ min (template prep) | Very Low |

The Industry Secret: Pre-Cut Relief Grooves Prevent Blowout
Here’s what top-tier shops do that YouTube tutorials won’t show you: Before routing any end grain or cross-grain profile, they cut a shallow relief groove on the waste side using a utility knife or chisel. Why? Wood fibers under compression will split along the grain when the bit exits. That micro-groove acts as a fracture line—containing the break so your finished edge stays pristine.
It adds 20 seconds per piece. But it eliminates sanding, patching, or scrapping an entire cabinet door. The math is simple: time invested upfront = zero rework later. Yet 95% of hobbyists skip it—because “it’s just a router.”
Frequently Asked Questions
Can I use a router tool on metal or plastic?
Only with specific bits designed for non-wood materials. Standard carbide router bits can shatter on aluminum or acrylic. Check manufacturer specs—and always use low RPM with steady feed.
Why does my router leave burn marks on wood?
Burn marks mean the bit is either dull, spinning too slowly, or you’re feeding too slowly. The friction builds heat. Sharpen or replace the bit, increase speed slightly, and maintain consistent forward motion.
Is it safer to use a router table or handheld router?
Both are safe when used correctly. Router tables offer better control for small pieces; handheld routers excel for large panels. Never freehand small stock—it can become a projectile. Use push sticks and featherboards.